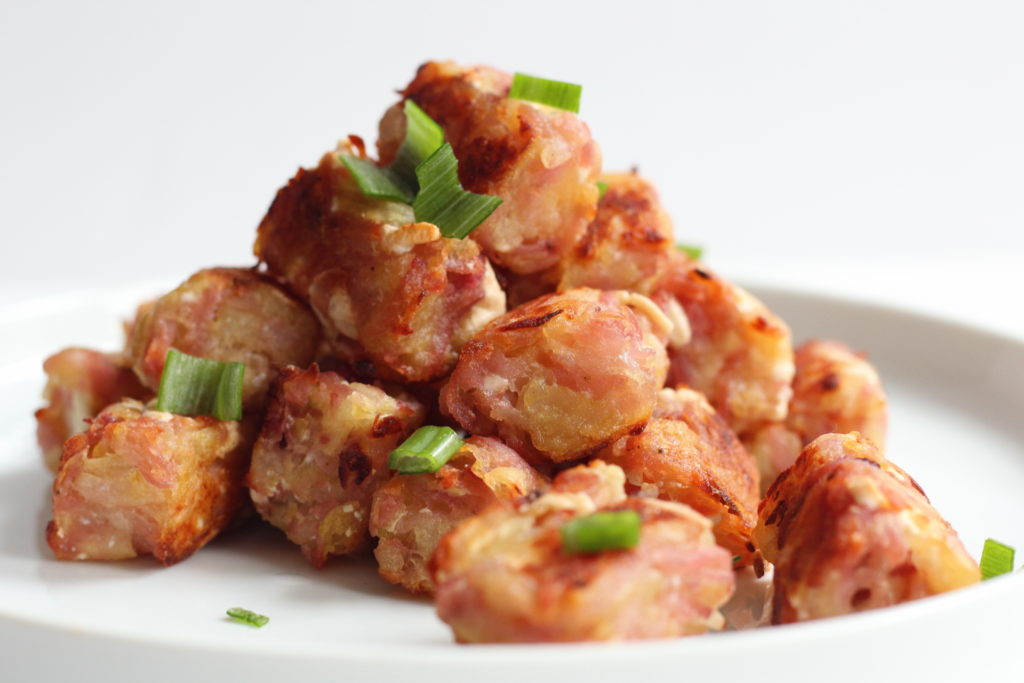
Homemade Tater Tots made with organic purple fingerling potatoes from our local farm share. A healthy spin on a traditional recipe made with fresh, simple ingredients. This family-friendly lunch recipe or dinner recipe is oven-baked, dairy-free and gluten-free.
We’ve recreated many recipes since starting the blog – some more difficult than others and I’ve never thought to make homemade tater tots.
The whole family loves tater tots. Carolina likes to have them for lunch + they ‘re a quick, healthy option on busy weekends.
Homemade Tater Tots
A few posts ago, I shared that we joined a local farm share called Local Roots and it’s been great experience so far. Local Roots offers premium quality veggies that are fresh, delicious and easy to work with. We love Local Roots so much I offered to collaborate with them by developing easy, family-friendly recipes made with my share of veggies.
You can read the post I’m referring to here…
A few weeks ago, I picked up beautiful purple fingerling potatoes and immediately thought to make Homemade Tater Tots for Caro. I googled ideas and whatta you know, it’s so simple to make tater tots at home and you don’t have to fry them. winner winner!
Health Benefits of Fingerling Potatoes
Organic, non-GMO potatoes offer excellent health benefits and work great if you need to mix in other veggies for your picky toddler. 🙂
Plus Fingerling Potatoes are:
- Rich in fiber and protein
- Purple potatoes contain more than 4 times the antioxidants as regular potatoes, largely due to the concentration of anthocyanins (the pigments that give red, purple, and blue plants their rich coloring).
Pretty cool, right?
To make tater tots at home all you need to do is par-boil (more on this below) potatoes, grate them and season. Then pop them in the oven to bake until light golden brown. That’s it – so simple!
Real talk, Mamas: I’m not saying I’ll never buy frozen tater tots again. What I’m saying is that once in a while making Homemade Tater Tots is totally doable, cheaper and healthier for the entire family.
Announcements
Before I leave you with this yummy recipe, I wanted to thank all the Mini Bakers (and parents) who joined the Pop-Up Baking Class we did with ShineNYC at the Children’s Museum in East Hamptons. The kids painted beautiful flower vases and made cake pops using our healthy FlipBox Cake Mix! It was a fun, creative and healthy way to celebrate Mother’s Day!
Our next Pop-Up class is scheduled for Wednesday, June 12th at Freshmade in SoHo. Details below + the link to reserve a spot!
Ok, here’s the recipe. We hope you enjoy it! don’t forget to share your photos on INSTAGRAM and FACEBOOK with the hashtag #ourflipsidelife
Until next week!
Homemade Tater Tots (made with purple fingerling potatoes)
Ingredients
2 lbs purple fingerling potatoes
½ tsp garlic powder
½ tsp onion powder
2 tsp arrowroot powder
1 tsp salt
¼ cup dairy-free mozzarella cheese, shredded (optional)
1 tsbp olive oil, more for brushing
Instructions
- Preheat oven to 450ºF. Line a baking sheet with parchment paper or silicon baking mat and brush it lightly with olive oil.
- Peel the potatoes and place them in a large pot, cover with 1 inch of cold water, and bring to a boil. Once boiling, parboil for 6 to 7 minutes until they give when poked with a fork, but are still slightly firm.
- Remove the potatoes from the pot, drain well and allow them to cool completely before moving on to the next step.
- Using a box grater, grate the potatoes.
- Place the grated potatoes in a mixing bowl and mix in the garlic powder, onion powder, arrowroot powder, salt and dairy-free cheese (if using).
- Form the potato dough into small cylinders, squeezing it together with your hands. Make the tots small enough to have 20-ish tater tots on one sheet.
- Lightly brush olive oil and place the tater tots in the oven to bake, 20 minutes on each side or until both sides are light golden brown.
- Remove from the oven and allow to cool before serving.
- Garnish with local, fresh scallions and serve with your favorite dipping sauce (optional).
I added dairy-free cheese but you can skip this step.
There you have it, mamas! So easy and delicious – we hope you enjoy making them for your family.
